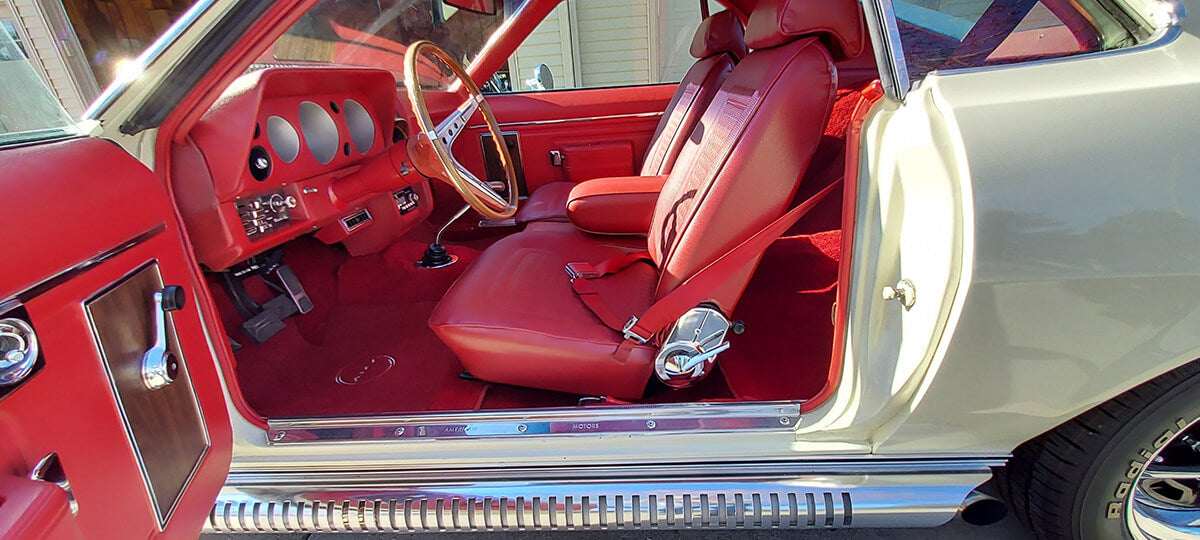
1. Change Out that Old Classic Car Carpet
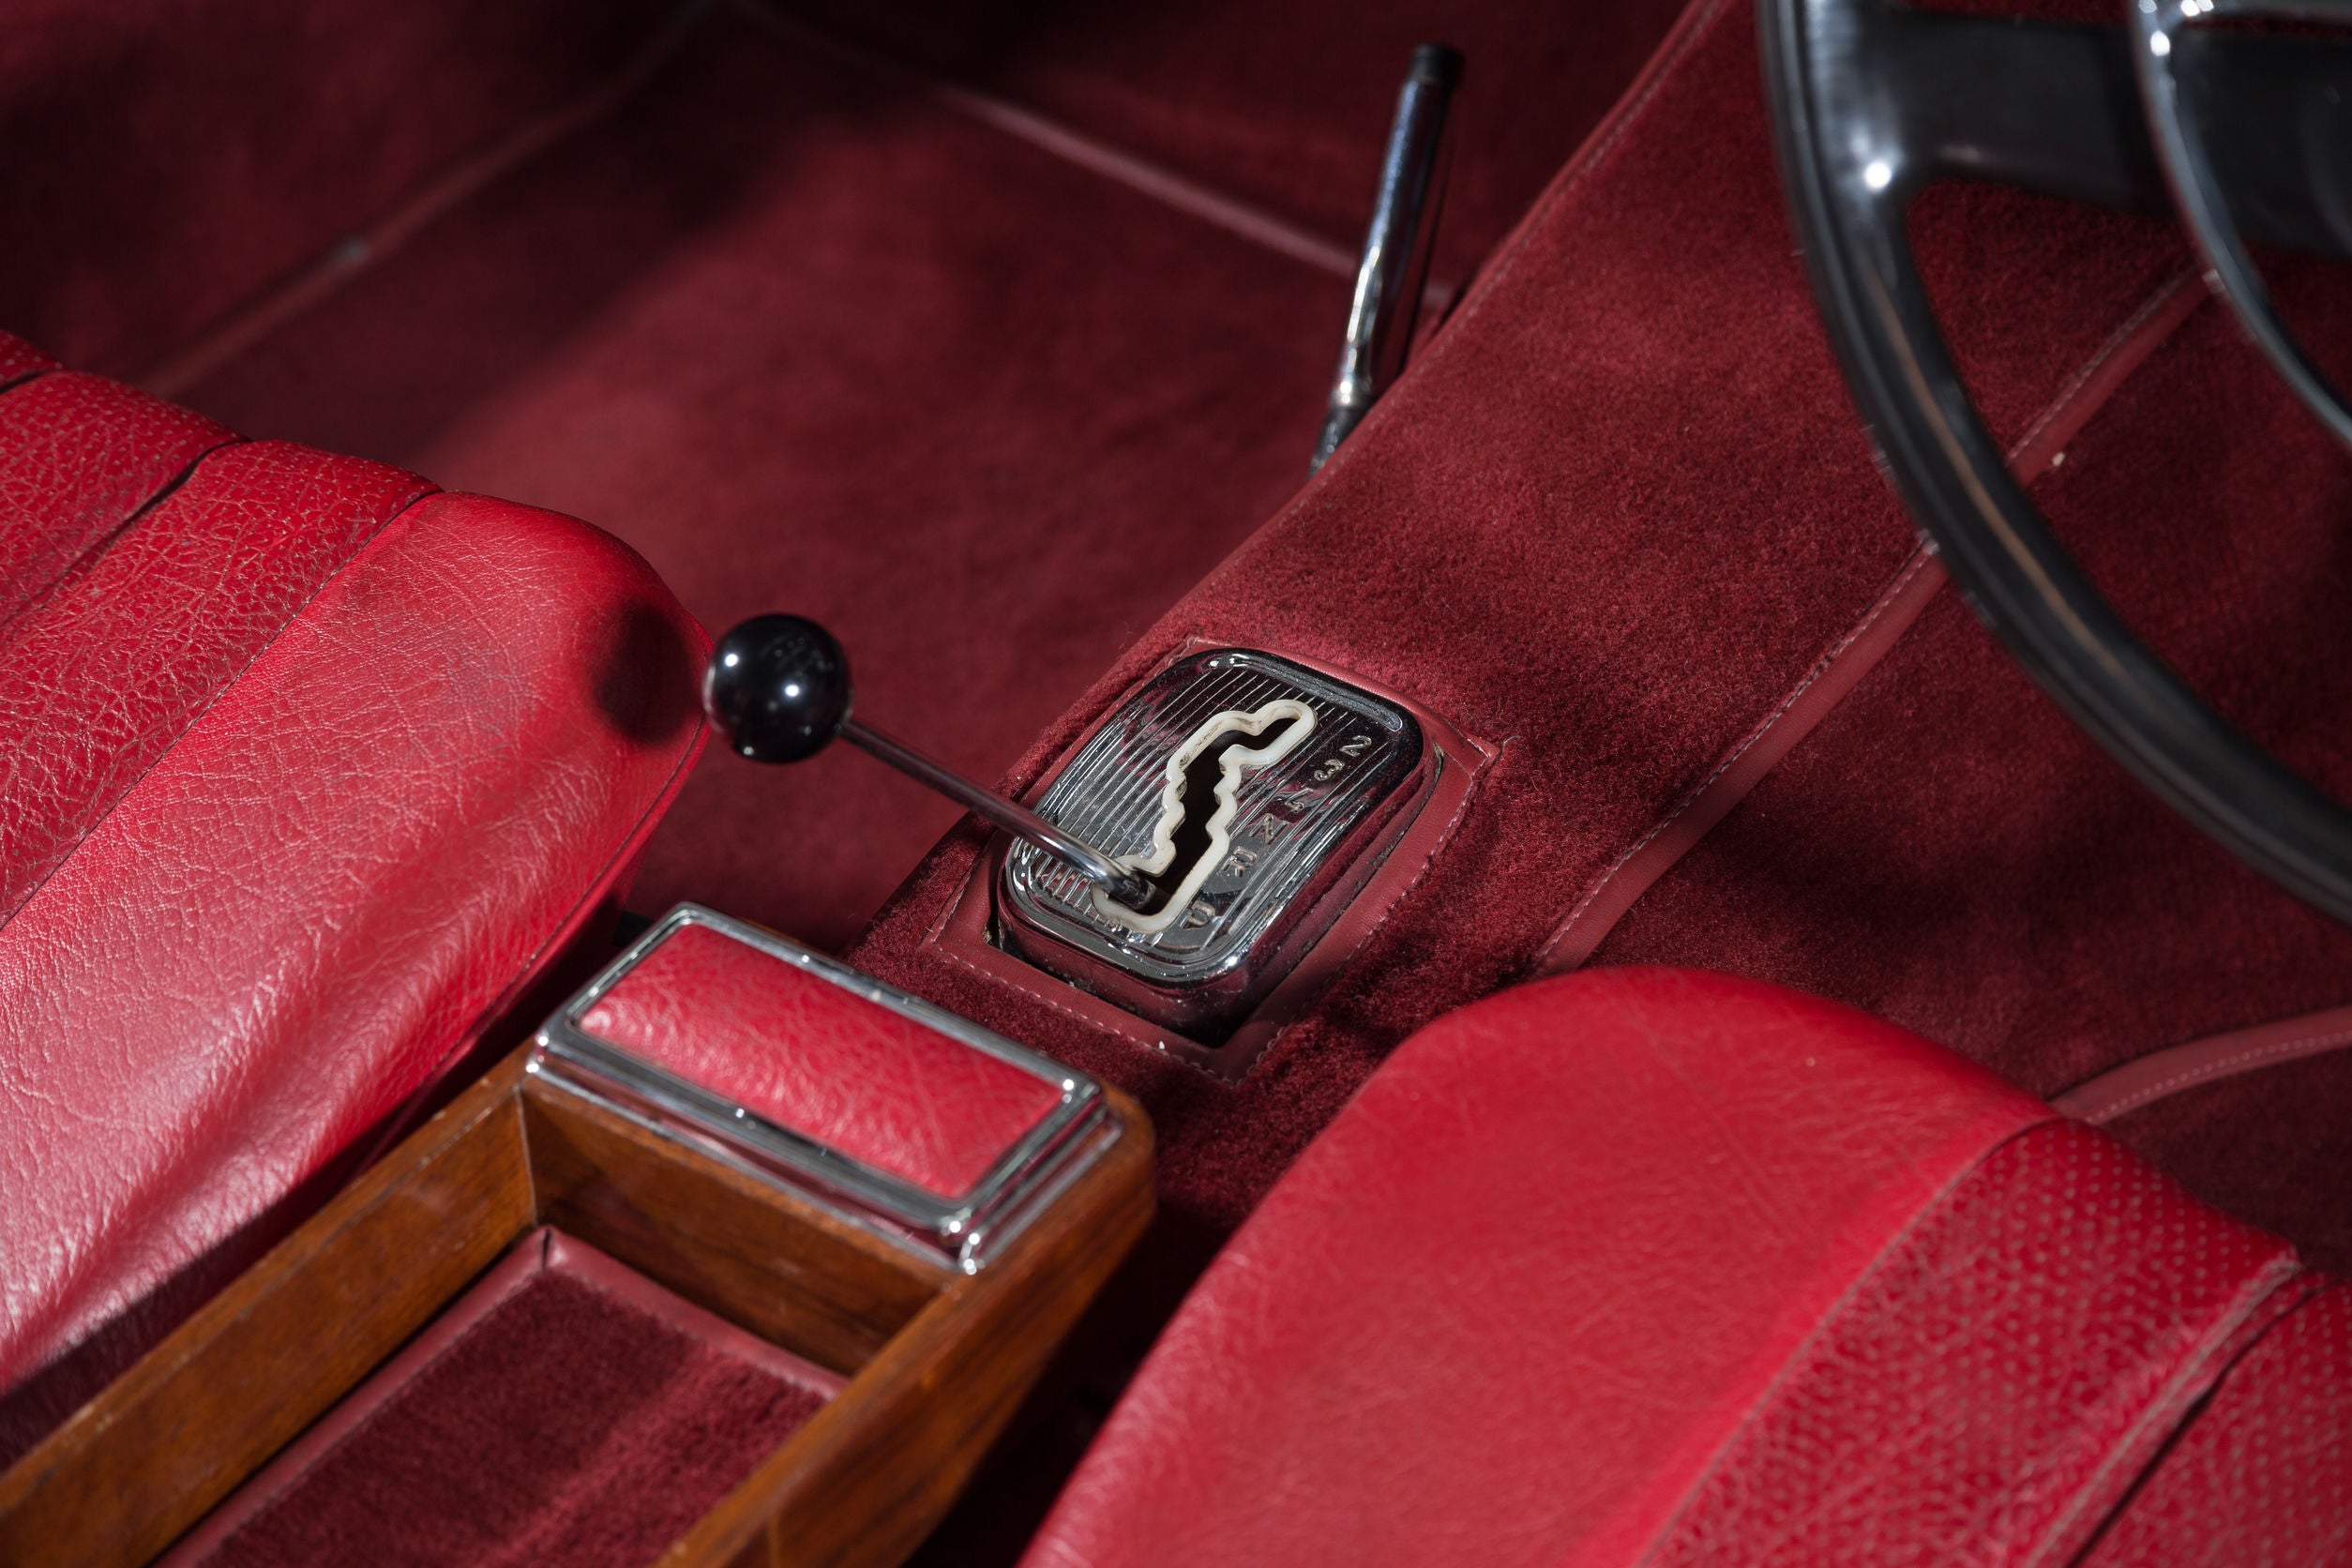 If the carpet of your classic car is in rough shape, this is the first place you should start with your interior restoration efforts. First, remove the old carpet and assess the state of the floor underneath. You don’t want to place new carpet on top of a severely damaged or dirty floor. Make sure the floor is in good shape before you replace the carpet. This may require sandblasting to address normal wear and tear on the car floor. Have any holes patched up as well. Now you are ready to replace the carpet in your classic car. Before you get your carpet kit out, install under-carpet padding, which helps suppress noise and keeps your cabin from getting too hot. These are also known as sound deadening kits or sound dampening kits. Next, install the new carpet, paying attention to the contours of your vehicle floor so that you trim it to fit properly. Hot Tip: Set the pieces from your carpet kit out in the sun on a clean surface for an hour or two to make installation easier.
2. Replace the Seat Upholstery
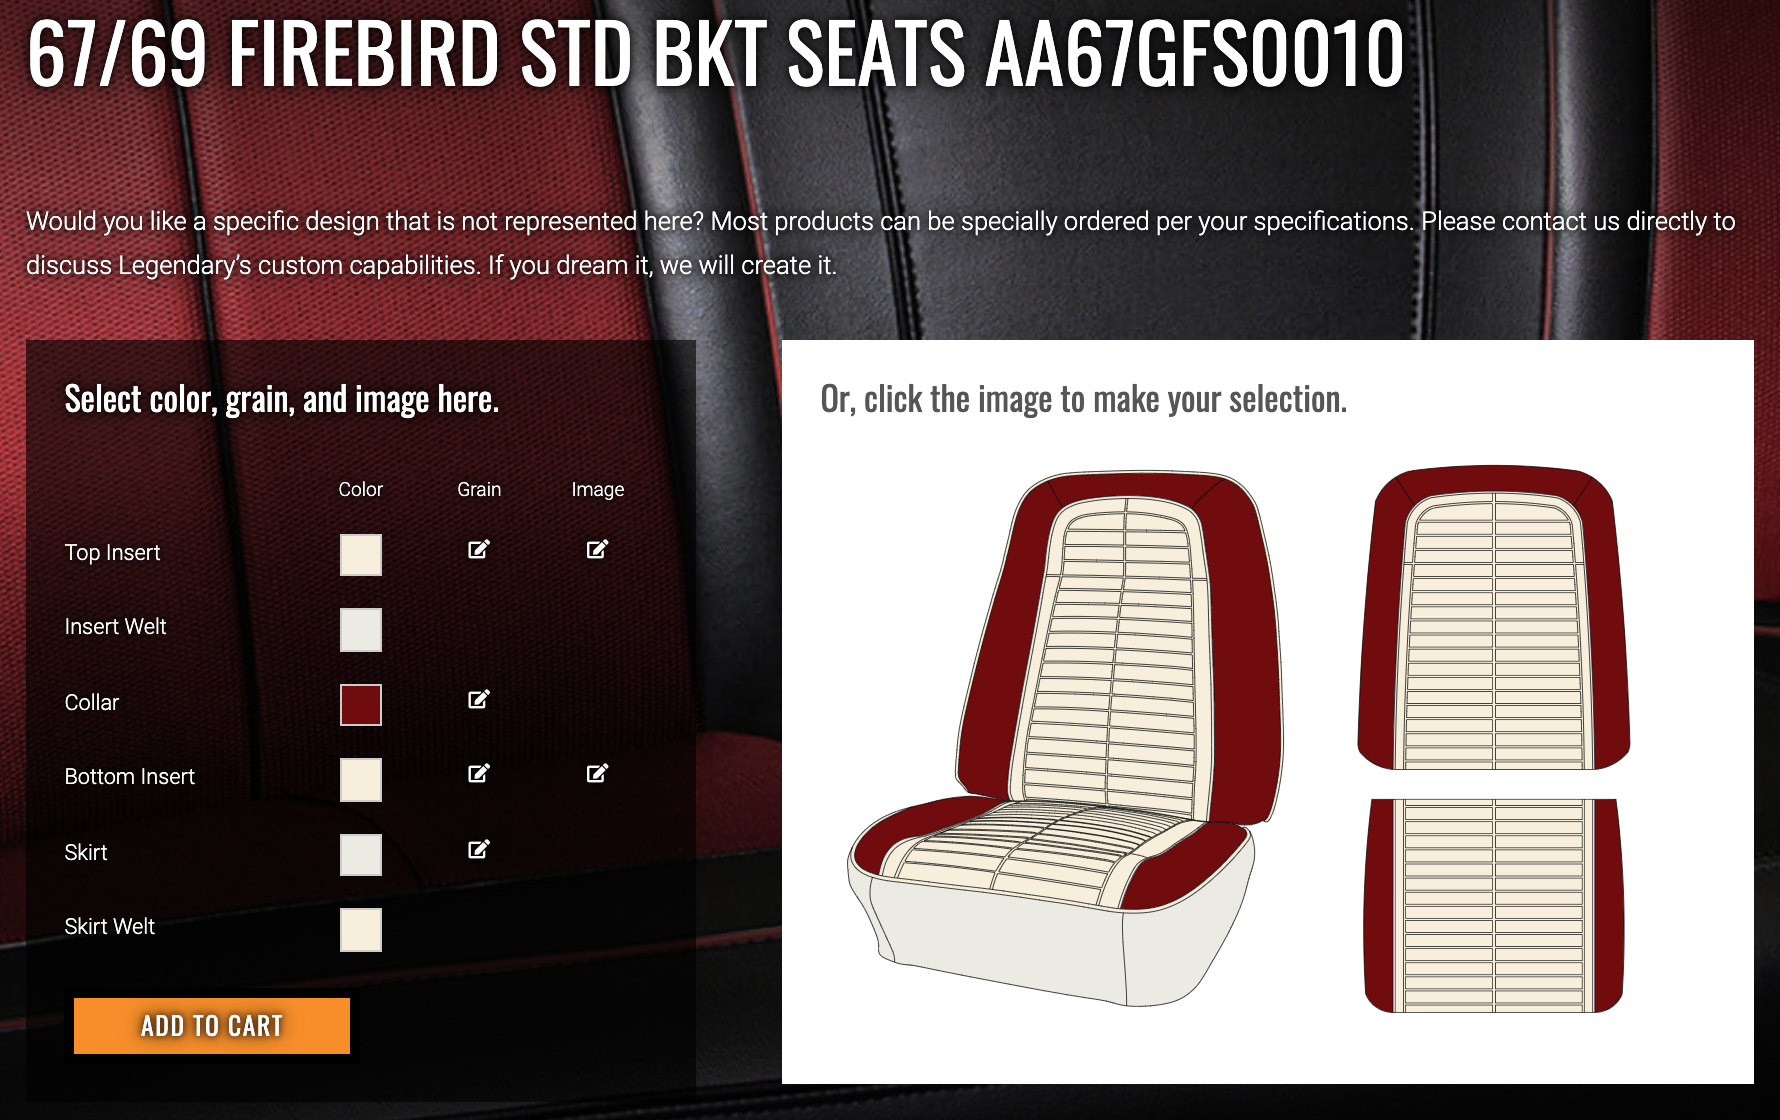 Classic car seat upholstery can take a beating over the years. Why sit on grungy, cracked vinyl or worn out leather when you can easily update it to its original glory? If you want your classic vehicle to look just as good as it did when it left the showroom floor all those years ago, replace the seat upholstery. Brand new seat upholstery makes riding in your classic car more enjoyable, and more inviting for anyone lucky enough to be your passenger. For authenticity, look for OEM seat upholstery, which is crafted to match the make and model of your classic car. These will be the easiest to install.
Related Article: Transform Your Classic Car’s Interior With the Right Colors
And as long as you are replacing the upholstery, you might as well replace the seat foam as well. Foam falls apart, flattens out, and turns to powder as it ages. Even though no one can see how ugly it looks, old foam is uncomfortable for you and your passengers. Feel up to the task of replacing the seat upholstery yourself? Check out this free video library of expert tips on seat cover installation, and other classic car interior installation projects.3. Upgrade Your Headliner
The headliner of a car is the material that lines the inside roof of your vehicle. This part of your classic car interior will likely need to be replaced at some point. Even light pressure can stretch or tear the original headliner of your classic car. Headliner replacement is also imminent once it starts to sag, meaning the liner and its backing will need to be removed and replaced. For the best results, choose an authentic headliner made to fit the original manufacturer specifications for your car’s specific make, model, and year. You can either remove and replace the headliner yourself, or work with a reputable professional to get the job done for you. If you are more of a DIY enthusiast and want to replace your classic car headliner yourself, remember to take your time, as rushing could result in a poorly installed headliner. After you remove the old headliner and backing, scrape away any leftover residue of the original headliner backing with sandpaper or a brush. Be sure the ceiling surface is as clean and smooth as possible, or else you run the risk that your new headliner won’t adhere correctly.4. Open New Doors
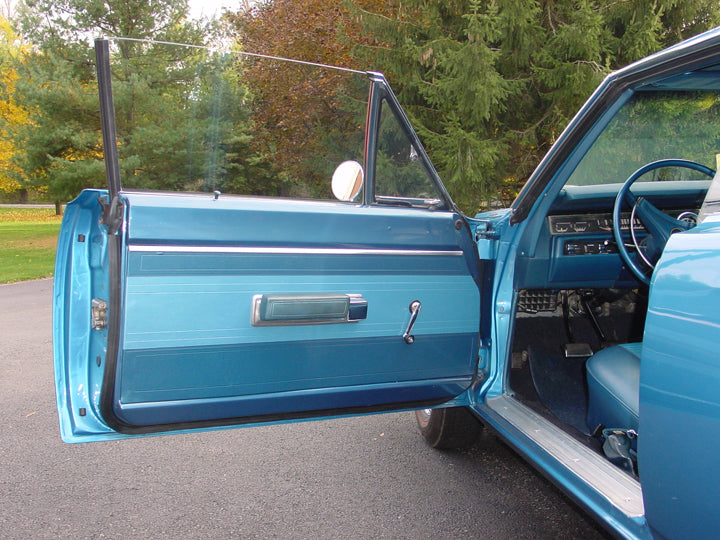
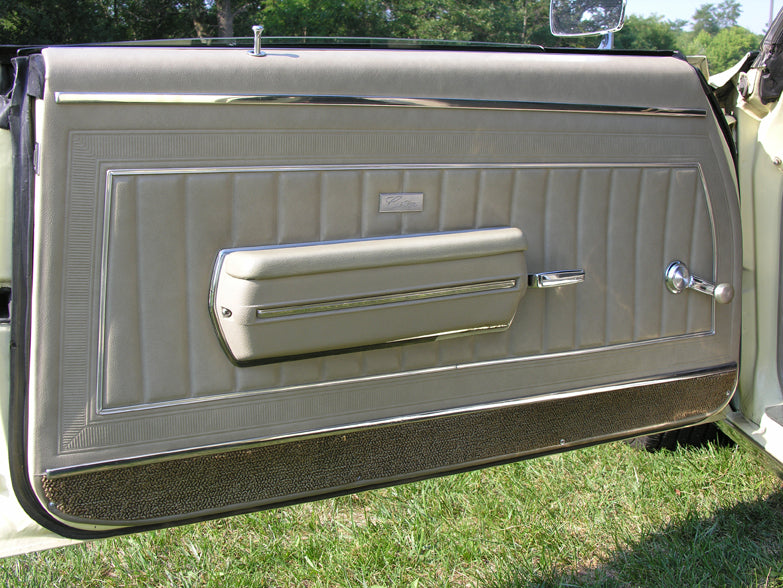 Classic car door panels get scuffed-up, cracked, or otherwise run-down over time. If it’s time to give this part of your classic car a facelift, there are many American-made, OEM door panels available to give your classic beauty that new car look. These can be replaced easily, but you will need a special tool to remove most door panels without causing damage to the retaining clips. Most auto parts retailers offer this tool. If you plan to replace the car door panels on your classic car, here is a handy installation guide to walk you through the process. You can also always outsource this project to professional installation technicians.
Related Article: Classic Car Restoration - Where to Start


